As the 30/4/2022 deadline for fiscalization has come to an end, everyone is in a hurry to find out how to do it.
Who is this option intended for?
There are actually no restrictions, but considering the way it works, my personal opinion is that it can be used in boutiques and all smaller stores or offices where there is not a lot of traffic and constant billing.
What do I need?
Android device (phone, tablet) and optional printer only if you receive cash payments.
How do I do fiscalization?
First of all, it is necessary that the bookkeeper (or you if you don't have a bookkeeper) register you on eporeza for fiscalization. I won't describe this step because the accountant did it for me, so I don't know exactly how it goes, but I read on the Facebook page that they charge 1000 dinars for this application.
The first step is to sign up for the electronic fiscalization service. Eporesi https://eporezi.purs.gov.rs/
Then you click on the efiscalization service.
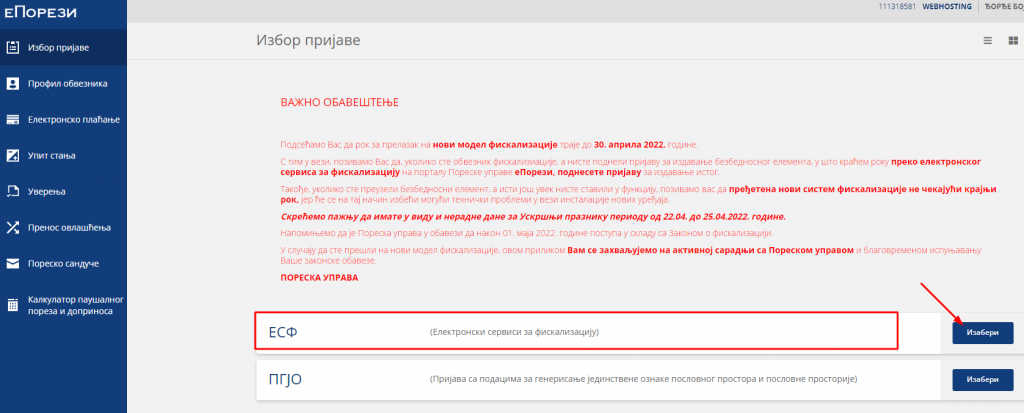
After which it will transfer you to a new window where you need to enter the code (quite difficult for those with poor eyesight).
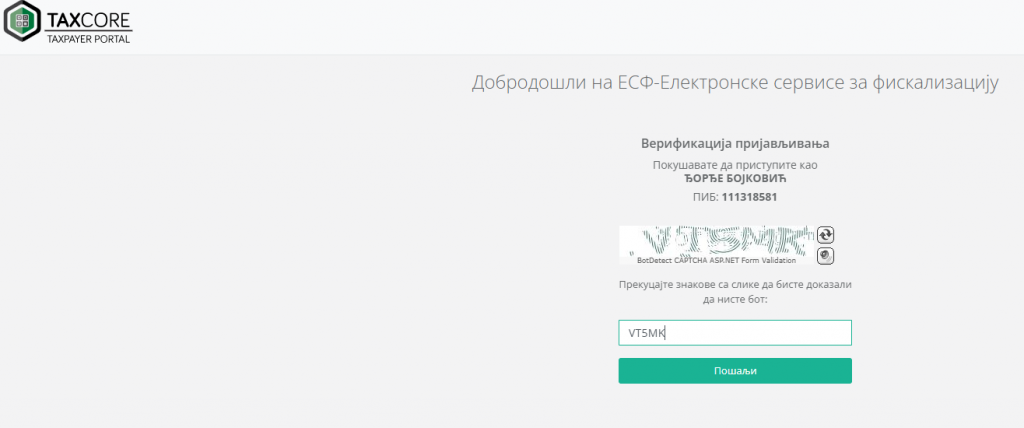
Now that you're logged in, you need to request a security feature:
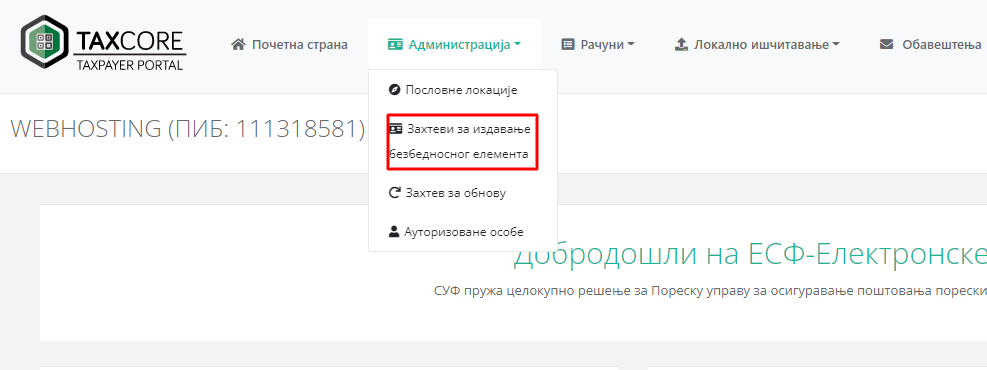
After this, there will be a POPUP window where you will choose the business premises and confirm. You are then given a data entry prompt:
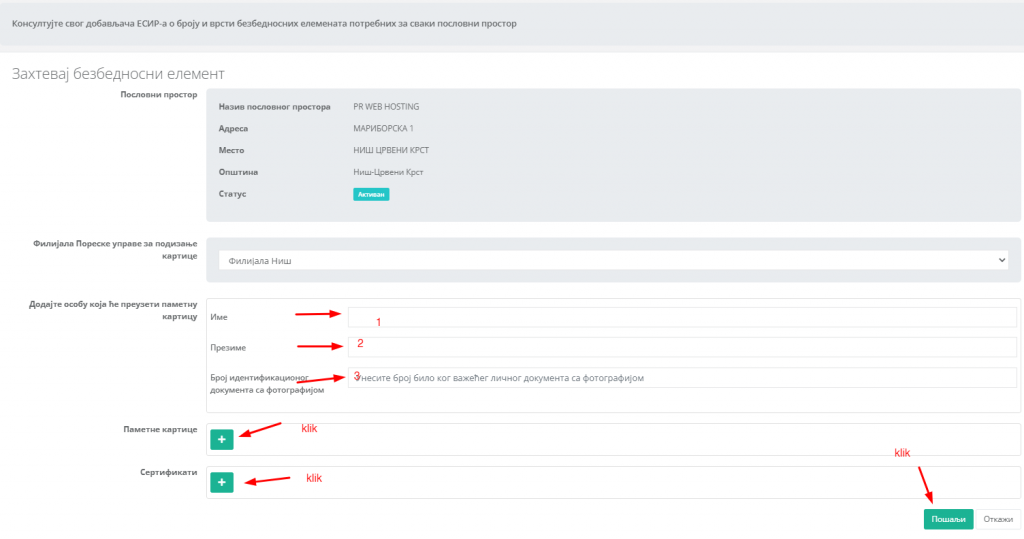
In fields one and two, enter your first and last name and ID number or anything with a picture as it says. Then you click on the plus code of smart cards and certificates and nothing do not change or enter. Then click on Send. A POPUP window will appear to confirm click on YES. It will then be announced that your request has been successfully accepted.
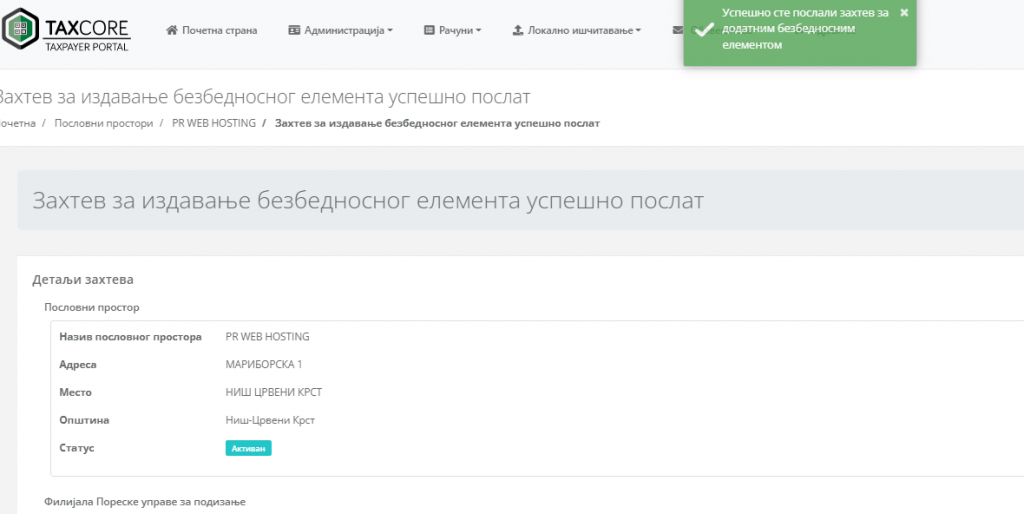
Now you need to go to Administration and then to Business Locations

After that, the locations will appear, click on the location that is active (the one for the security element you marked).
It will then appear in the list of security elements to request.

Here click on Request download link. After this on the Eporesi page https://eporezi.purs.gov.rs/ in the Tax Inbox you will receive a PDF file that when you click Download you will receive a link to download the certificate in question, it is a .zip file and it will take a little longer, Be patient. Change its name to say certificate.zip because the generic one will be difficult to type in the next step. You will also need the PAK and PASSWORD from the pdf file.
After you have received it, there is now a small complication because you have to place that file on a server that will be downloaded through the application (all our clients have this option and can place the file in the public_html folder and then enter a link to the file).
Google drive and similar tools cannot be used. Anyone who is not our client can contact us and we will help with this free of charge.
Ok, now we have received the security element/certificate and now we can set up the application on the phone.
Application
The application is the official application of the tax administration.
Download the app from the google play store
Once you have installed you will get immediately as below.
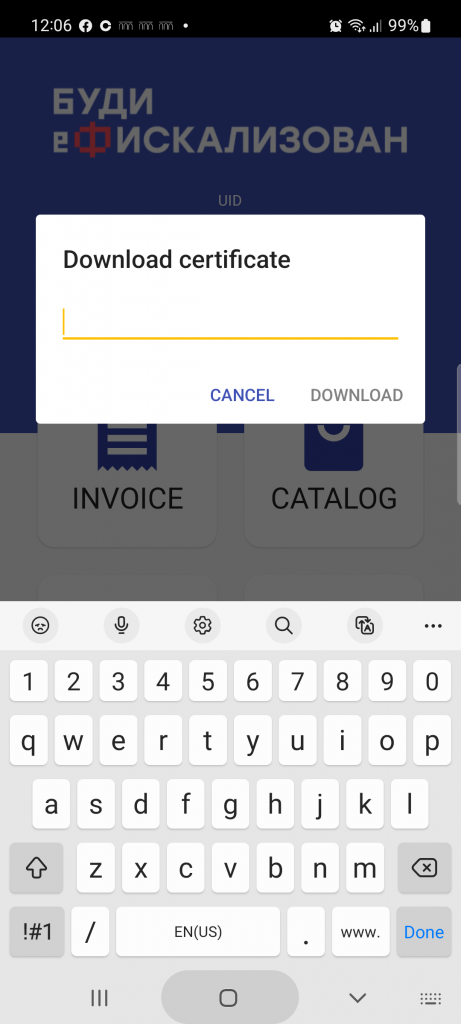
Now it is necessary to enter the link to your certificate that you have previously uploaded to the website (if you have skipped it, see the instructions above).
After this, it will ask you for a PAK and a PASSWORD to enter from the .pdf file you downloaded from the tax office.
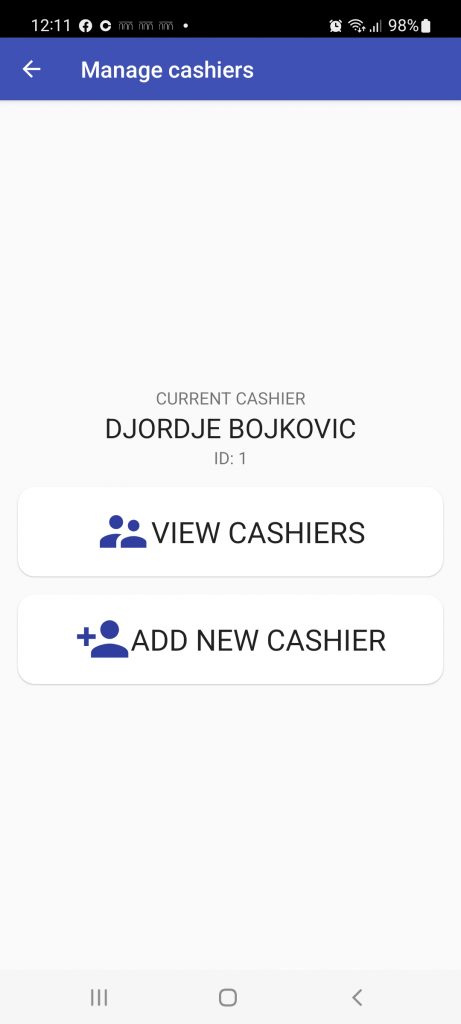
Now you're done (it's over but really 🙂 ). Now you have a fiscal cash register. You add an operator (cashier) and create an account. As in the Pictures below:
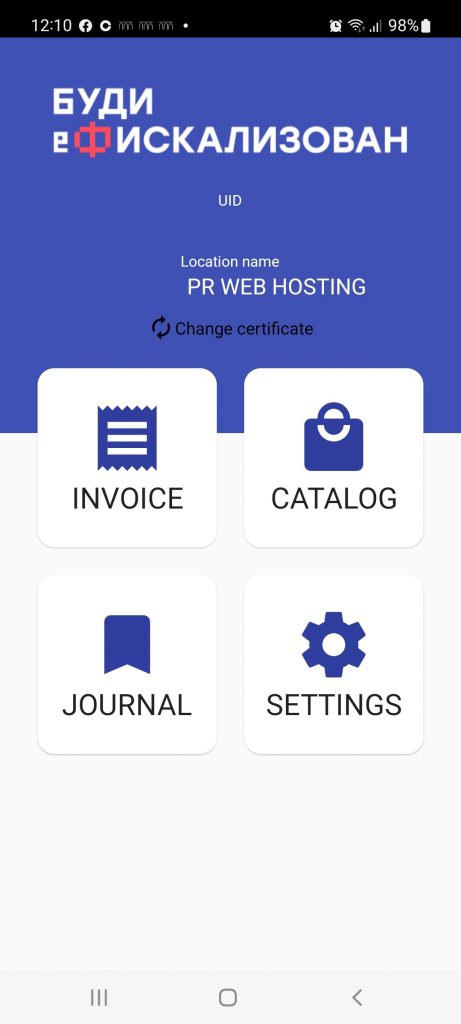
Now you want to create an operator by clicking on Settings and then on add cashier.
And now the main step, which is creating an account. In this example, a TRAINING account was created (which I strongly advise you to try several times). What each option means is described below.
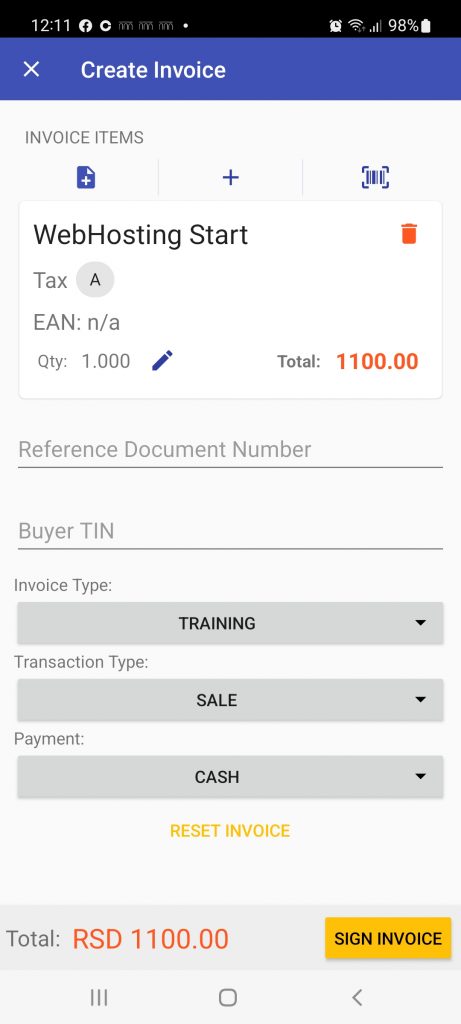
Let's go from top to bottom with the options.
1. Invoices items this piece of paper with a plus is that you can choose the service you want to charge if you have already sold it once and do not type the same thing again.
2. The plus in the middle is to add a new service if you haven't typed it before.
3. The barcode icon is for scanning the service (this is for stores).
When you have selected the service you want to bill for in Invoice Type, select TRAINING (to test the application) and if the actual invoice is Normal.
Then Transaction type SALE for sale or Refund for refund.
Then Payment, choose how you were paid.
When you have selected all that, then go to SIGN INVOICE in orange.
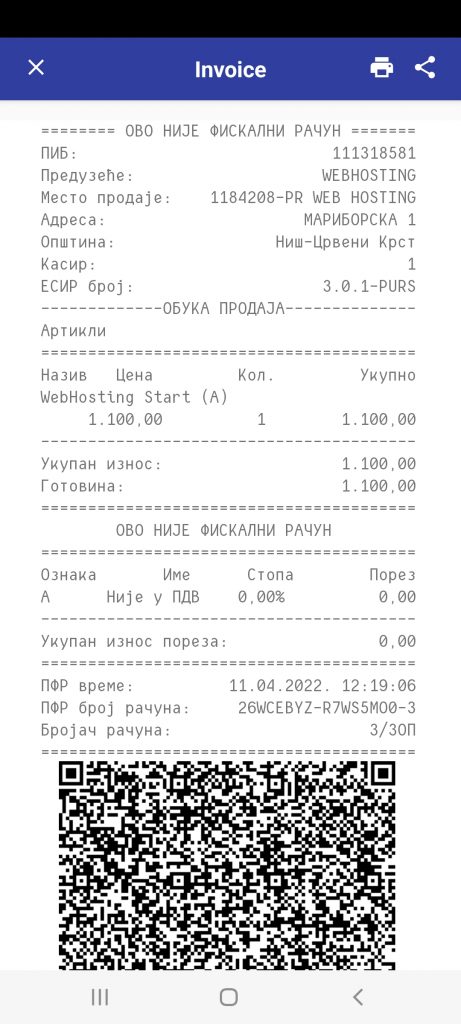
Congratulations, you got the bill, that's all. You can print if you have a wifi printer, if you don't have one, you can send it to yourself via email or google drive or whatever way you want to deliver it to your computer and print it, and if it's online, save it as a PDF and send it to the customer as a PDF.
If you have a question that is not answered in this post regarding the application, you have the official instructions of the tax administration regarding the application: Download the manual

