This is the first tutorial in a series of tutorials for an AI chatbot on your site. In it, we go through the bot setup and all the basic settings, step by step. Once you've finished this tutorial, your bot will be set up and ready to be uploaded to your site.
Log in to the dashboard
You access the control panel at chat.webhostingsrbija.rs. Log in with the email address and password you received when activating the service.
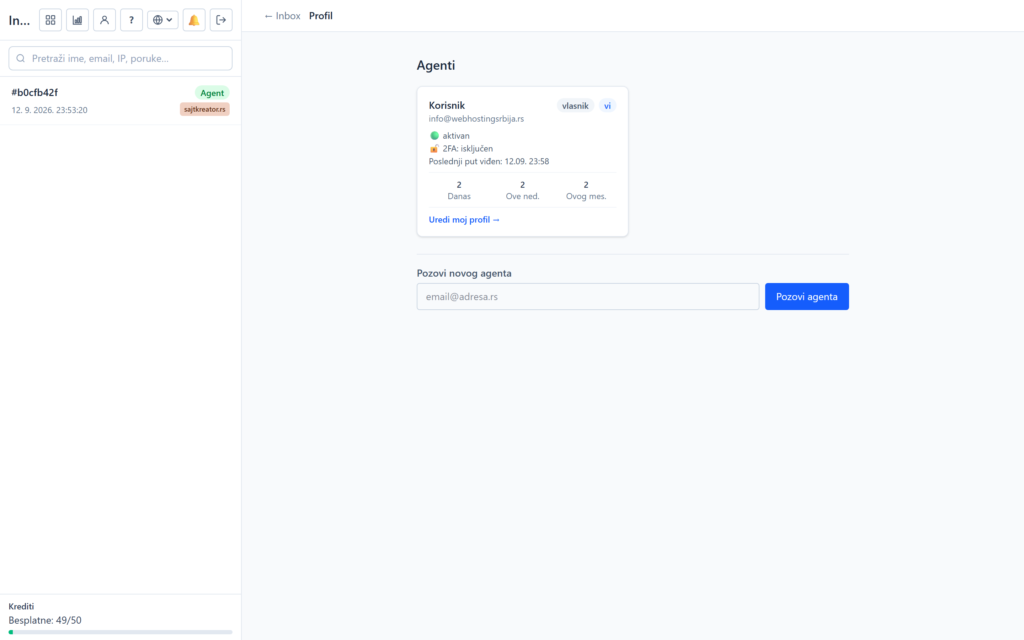
As soon as you log in, on the left is the Inbox, that is, the list of conversations. In the upper left corner are icons for the main parts of the board: Sites, Analytics, Profile and Help. At the bottom of the left bar, you see your message quota, for example "Free: 50/50". It's important to know that those 50 free messages per month are only used when the bot responds. Messages sent by you or your operator are unlimited and do not count towards the quota.
Sites: add a site
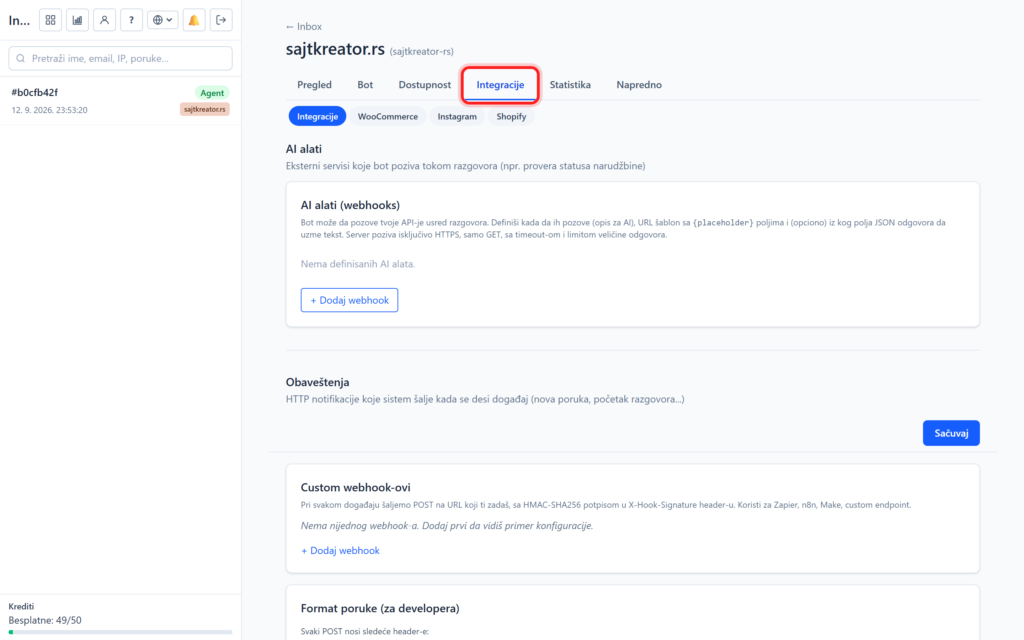
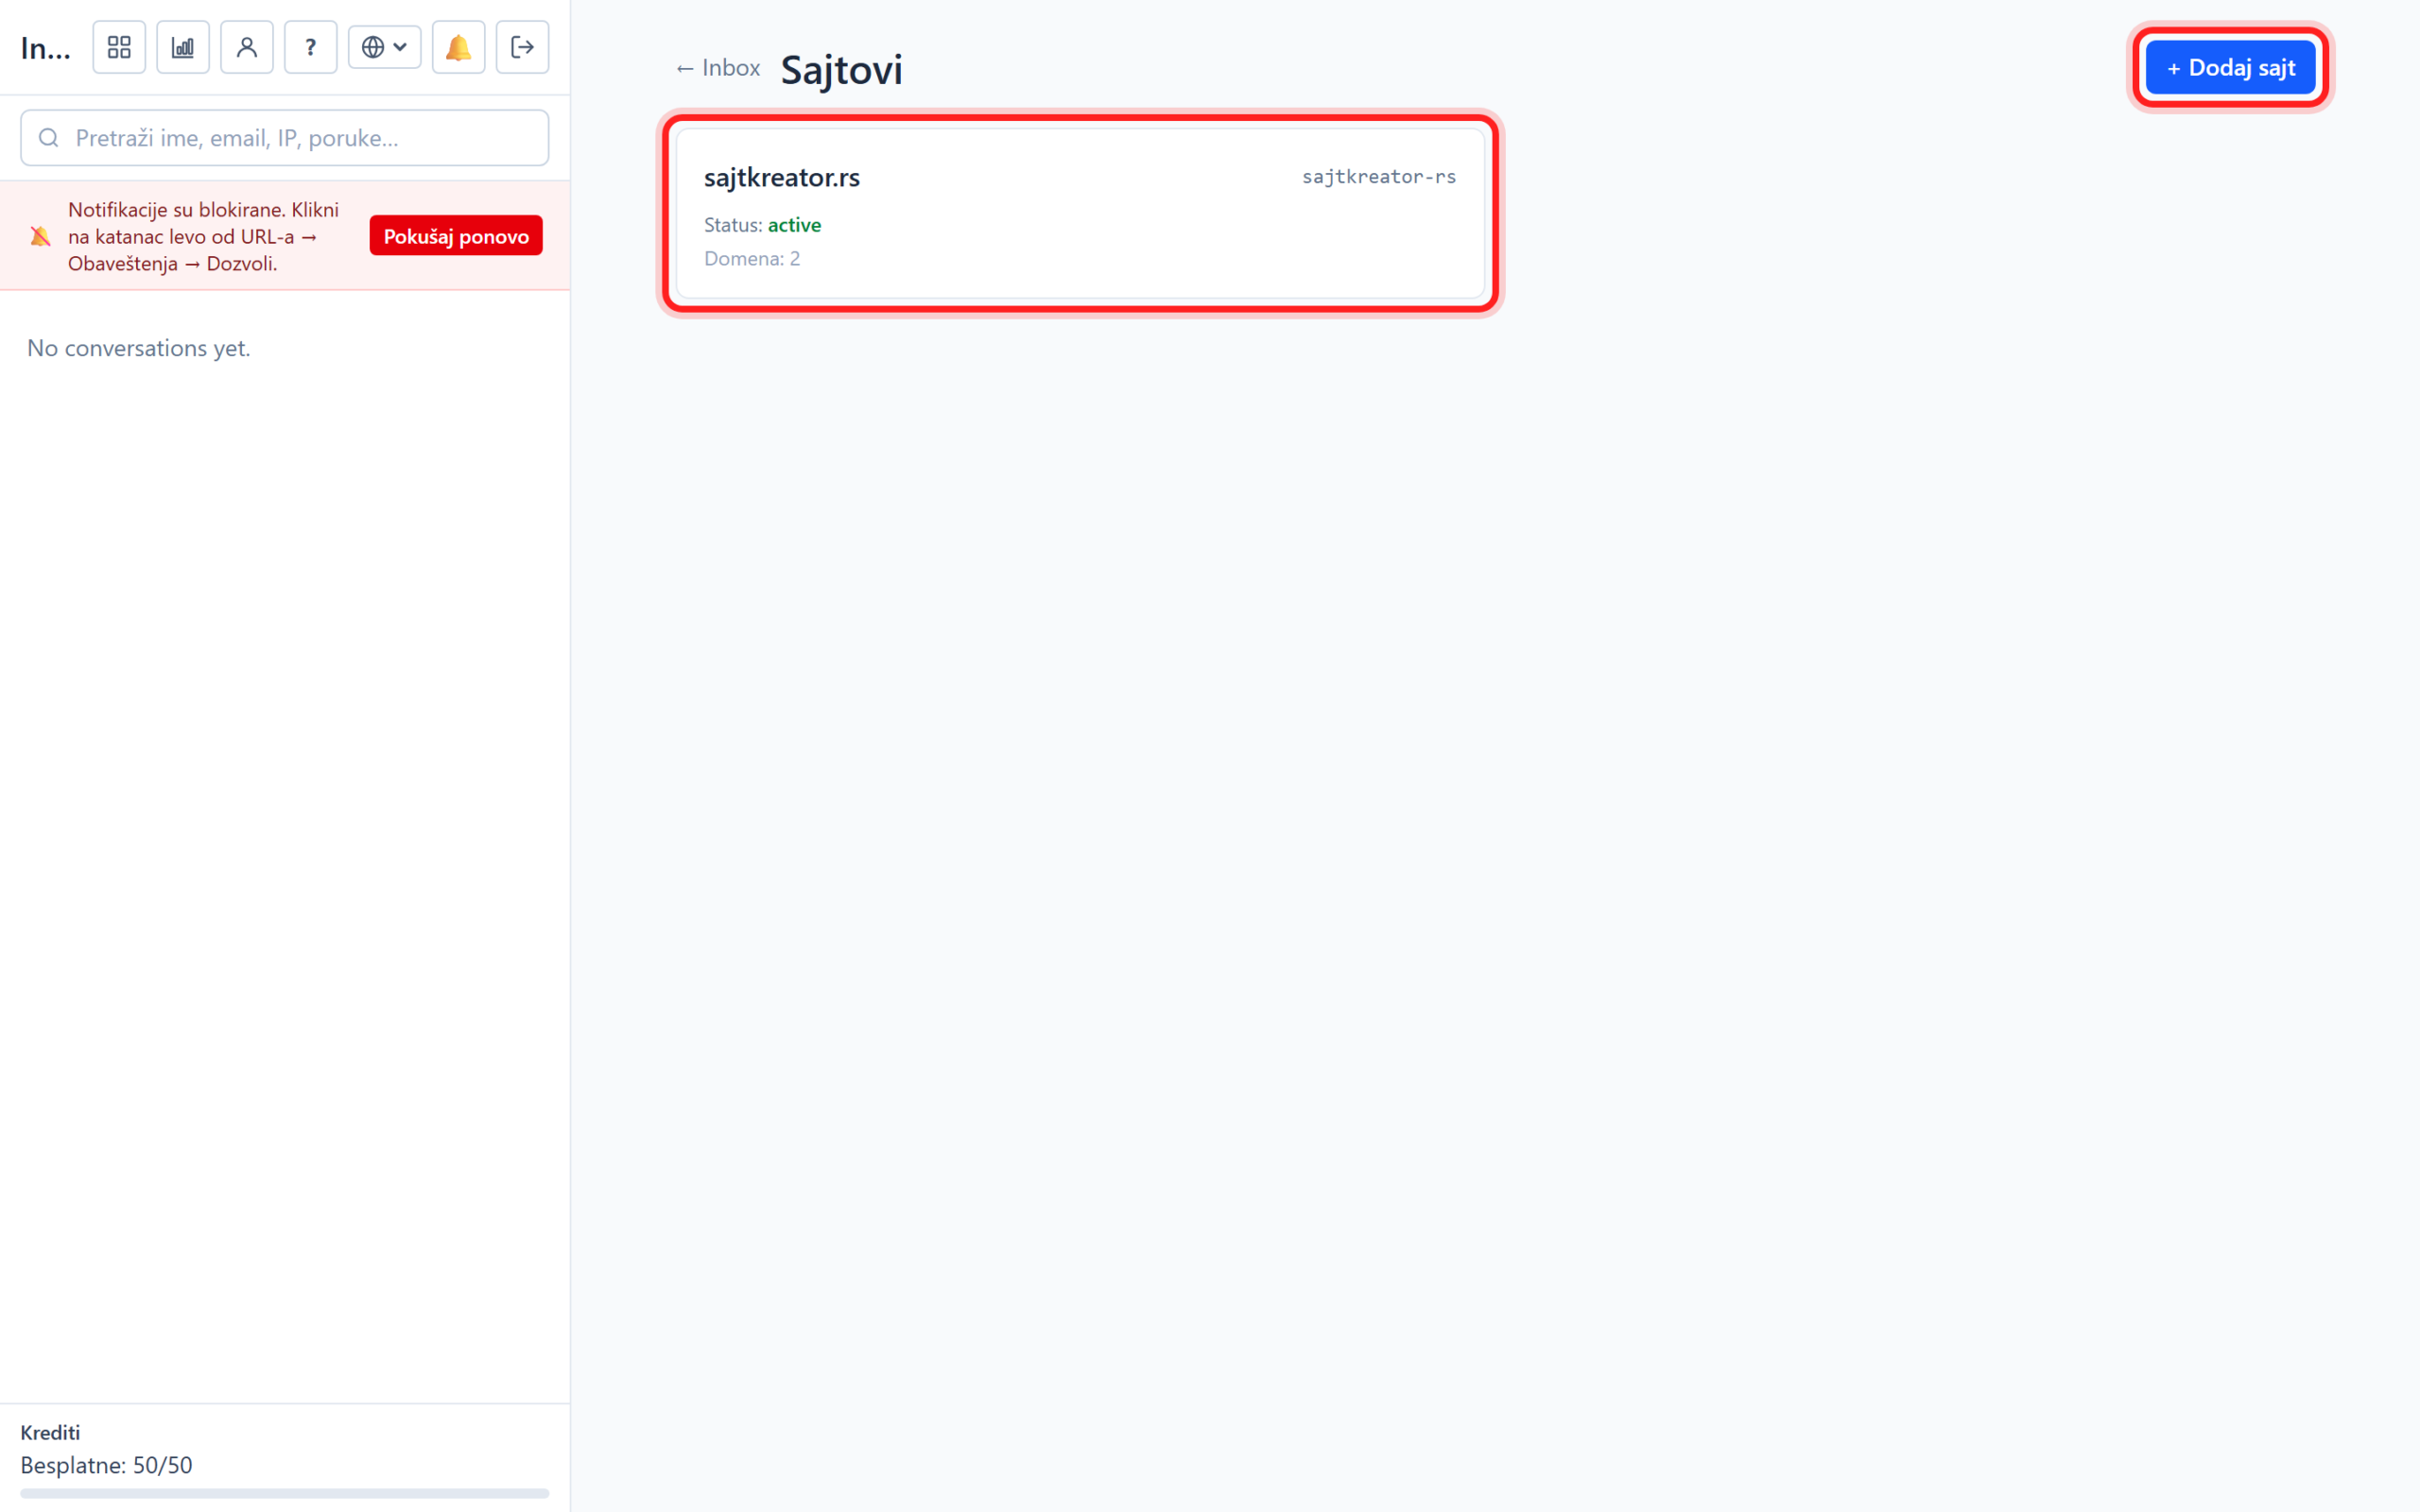
Click on Sites. This is where all your sites are located. Each site has its own card with the name, label, status and number of allowed domains. For a new bot, click the "Add site" button in the upper right corner.
In the "Add site" window, fill in the following:
- Name: the name of the site that only you can see in the dashboard, for example the name of a company or store.
- Servant: a short notation in lowercase used in technical code. It is suggested automatically from the name and you can leave it.
- Website domain: the address of the site the bot will run on, one domain per line, with https at the beginning. The address of the test page is added automatically.
- Index the site immediately: when it is ticked, the bot immediately reads the content of your site and learns to respond from it. It is recommended to keep it on.
- Business type: selects a ready-made conversation flow adapted to your activity. If you choose the no flow option, the bot has a free conversation without pre-prepared steps.
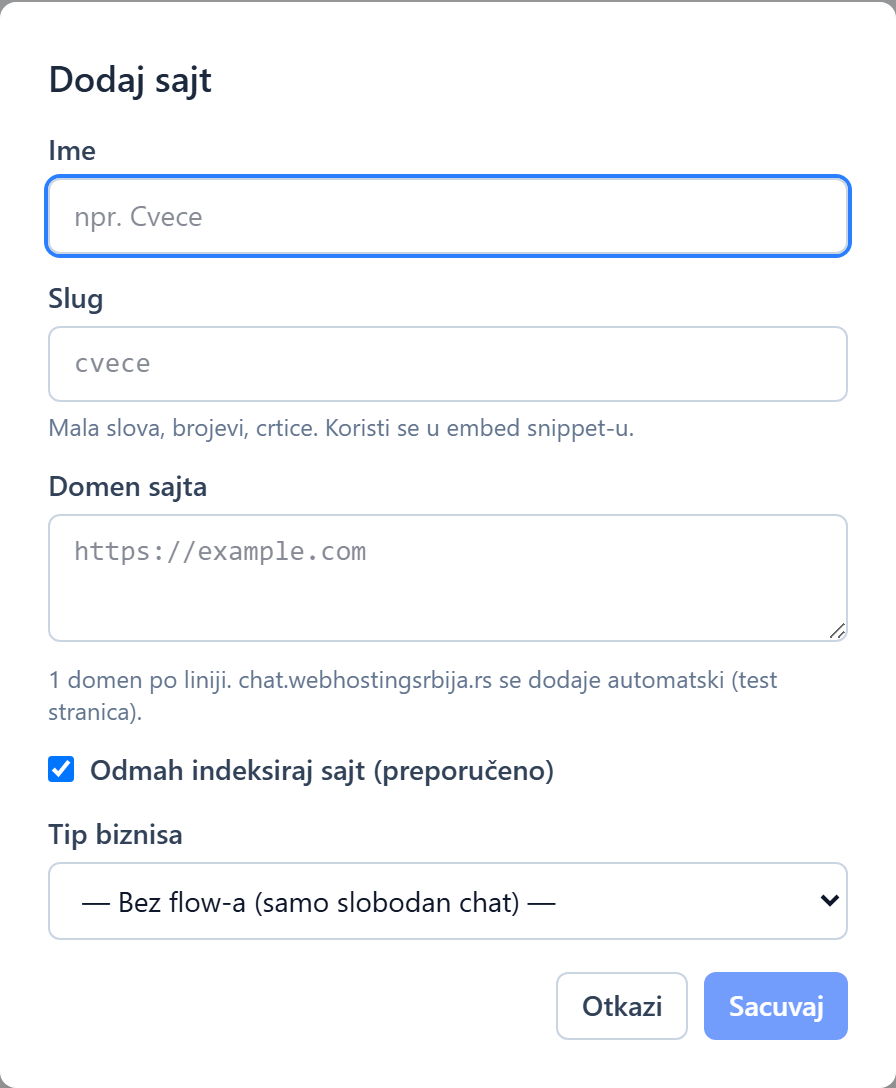
Click Save and the site is created. Next, we adjust the appearance and behavior of the bot in the Overview tab.
Overview tab: everything in one place
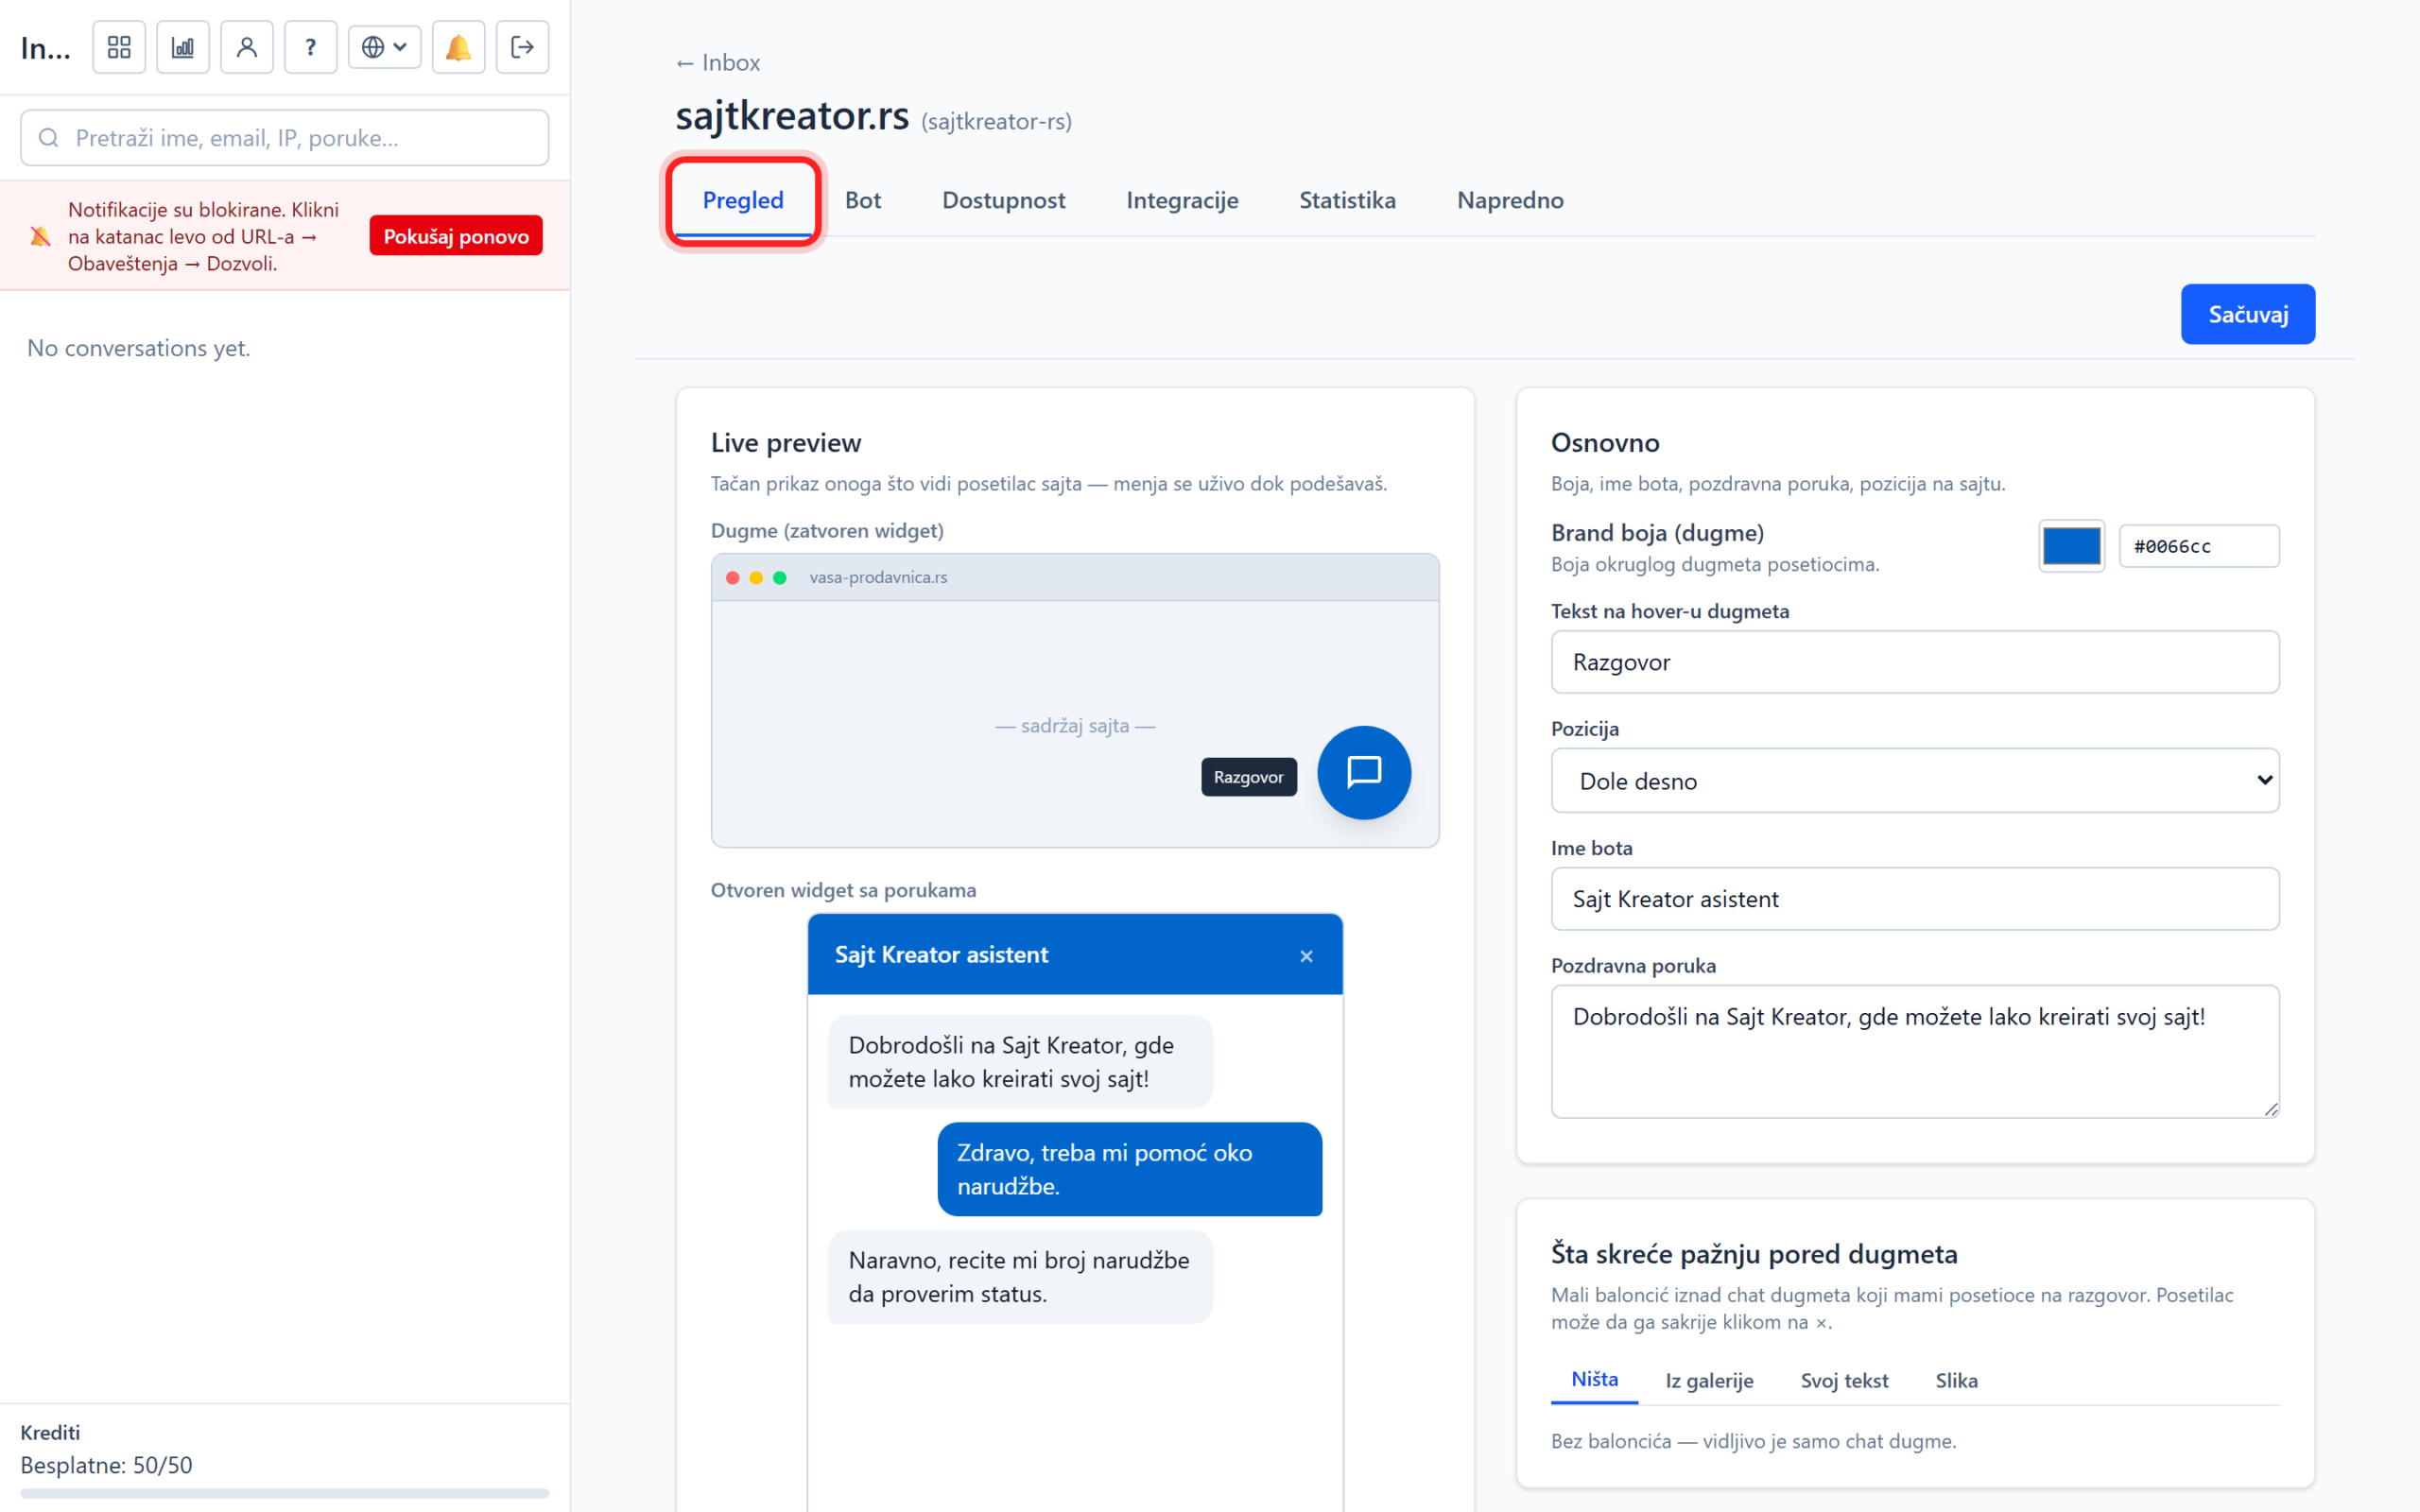
Open a site from the list and you will find yourself in the Overview tab. It's the home page of every site and it's got everything you need to get started: a live view of the bot on the left and settings on the right. Whenever you change something, click the Save button at the top right to save the change.
Live view
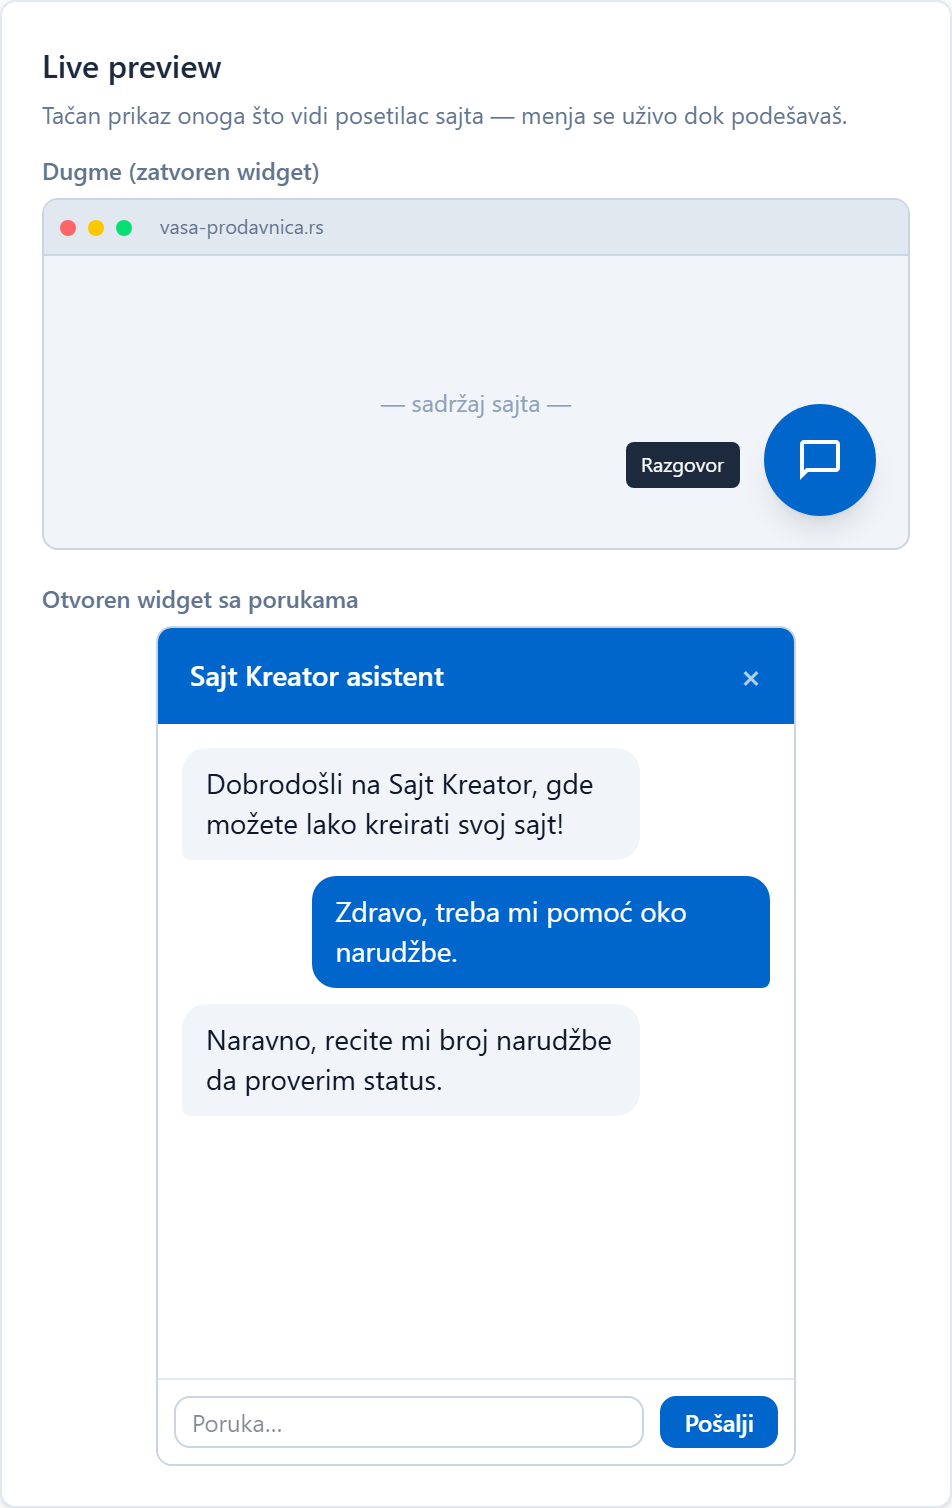
On the left is a live view, an accurate representation of what the visitor sees. Above is a closed round button in the corner of the site, and below is an open window with an example conversation. The view changes instantly as you adjust colors and texts, so you always see the result before you save.
Basic
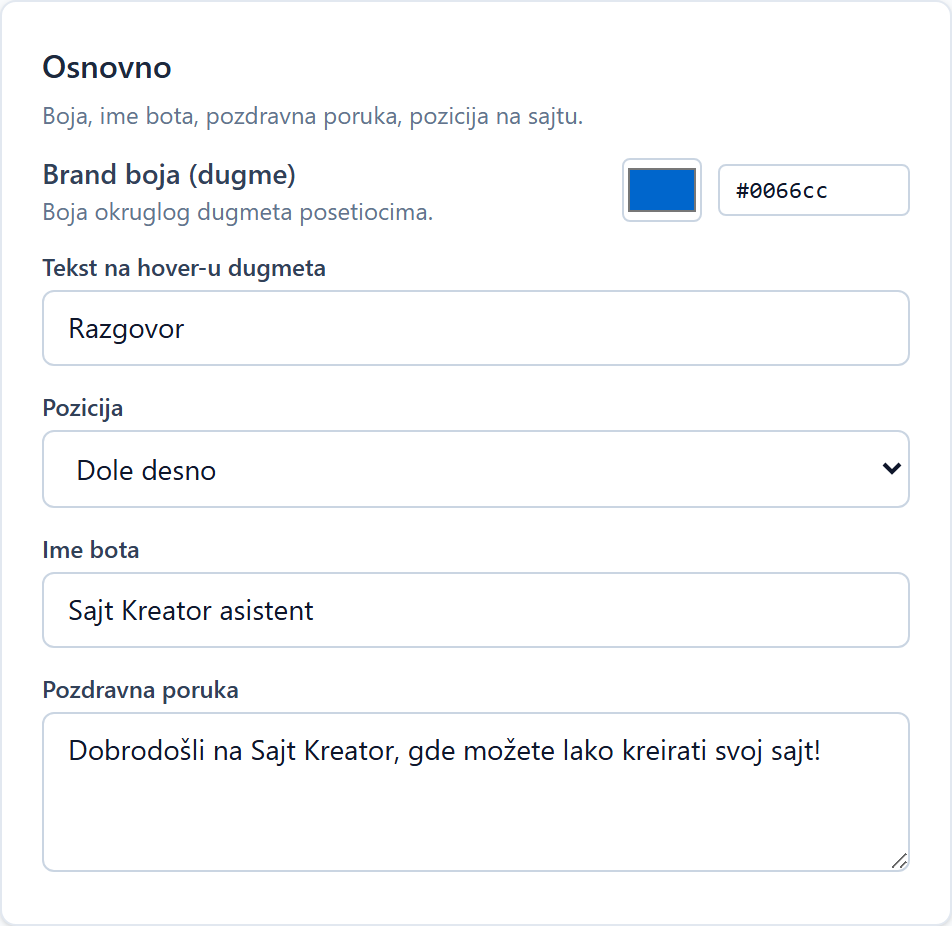
The Basic tab holds the main things:
- Brand color (button): the color of the round button that the visitor sees in the corner of the site.
- Button hover text: a short caption that pops up when a visitor hovers over the button, for example "Chat".
- Position: the corner where the button is, bottom right, bottom left, top right or top left.
- Bot name: name in the header of the chat window.
- Greeting message: the first message the bot shows when a visitor opens a chat.
What draws attention next to the button
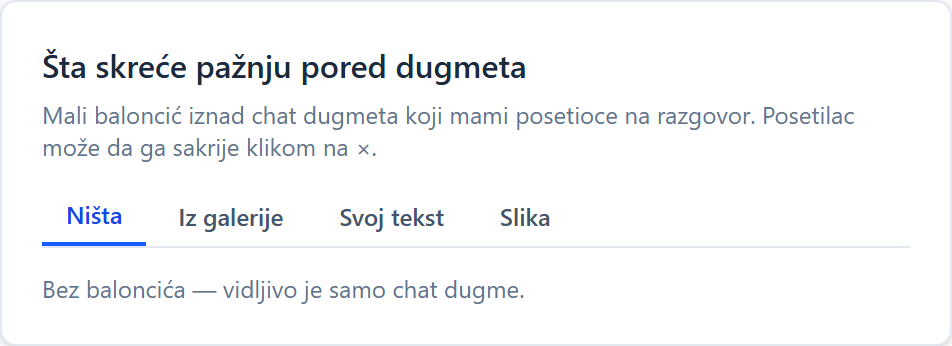
Here you choose a small bubble above the button that entices visitors to chat. You have four modes: no bubbles, a ready-made message from the gallery, your own text up to 120 characters, and an image that you upload or paste as a URL. The visitor can always hide the bubble by clicking the x.
Widget colors
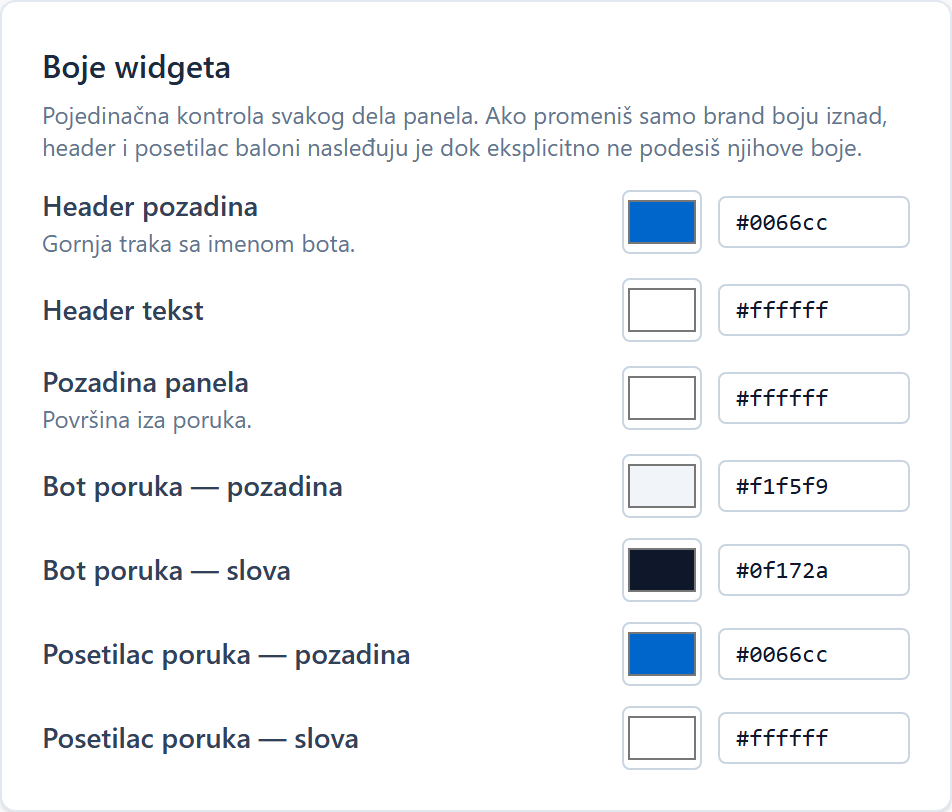
If you want to fine-tune the bot to the site, here you set the color of each part of the window separately: the background and header letters, the background of the panel, as well as the colors of the bot's and visitor's message bubbles. If you only change the brand color above, the header and visitor balloons automatically inherit it until you give them a special color.
Availability
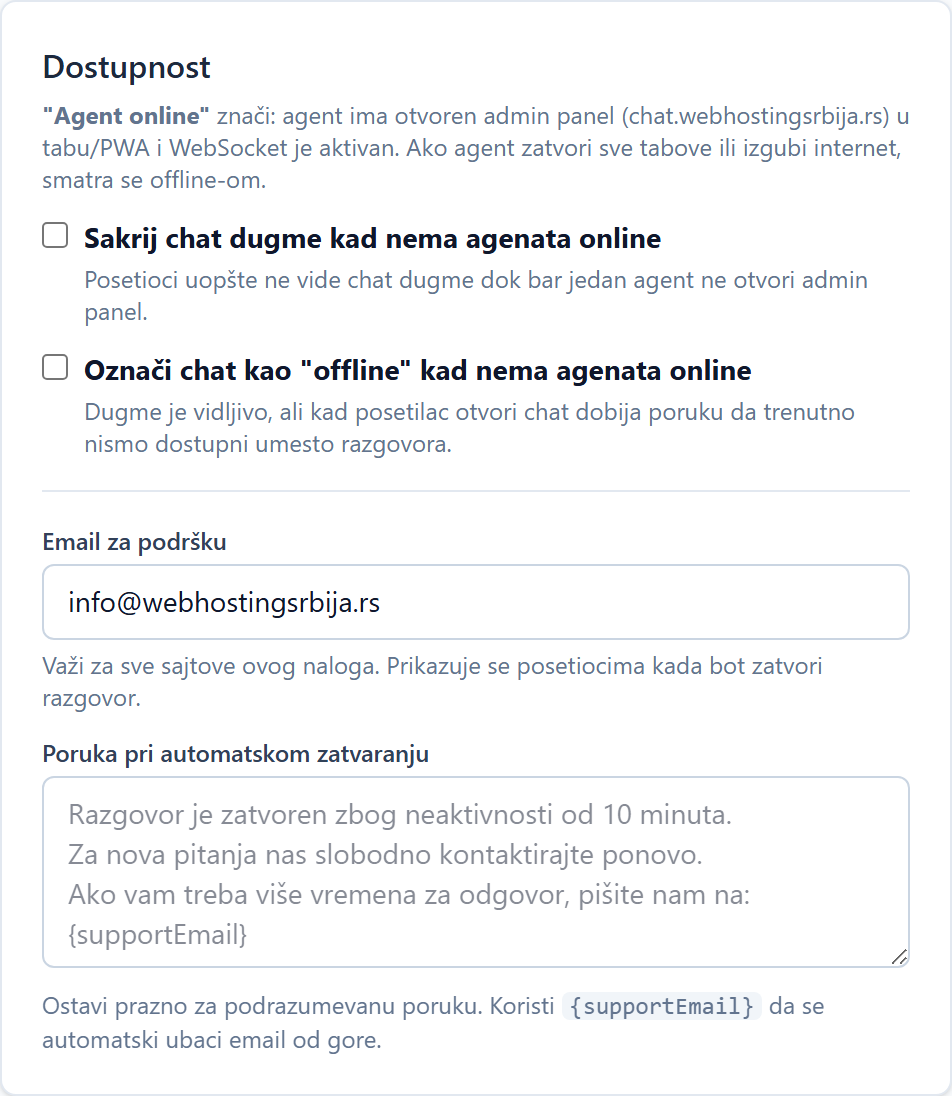
The Availability tab determines what happens when there is no available operator. The label "Agent online" means that at least one operator has opened the control panel. You have two options:
- Hide the chat button when there are no agents online: visitors don't see the button at all until one of you opens the board.
- Mark chat as offline when there are no agents online: the button is visible, but when the visitor opens the chat, he receives a message that you are currently unavailable.
Below are two more fields. A support email is shown to the visitor when the bot closes the conversation. The auto-close message is the text that a visitor sees when a conversation is closed due to inactivity. If left blank, the default message is used.
Pre-chat form
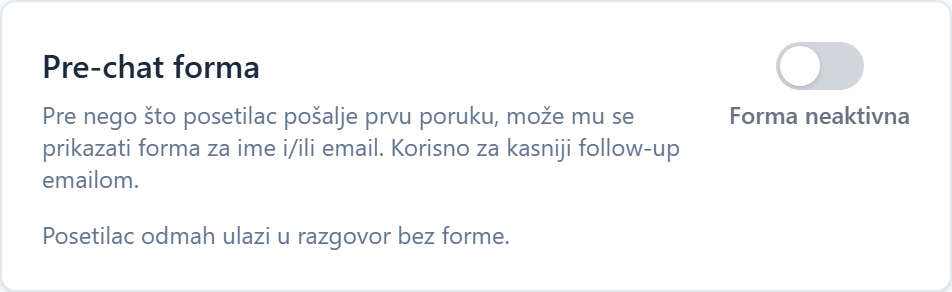
The pre-chat form asks the visitor for their name and email before sending the first message. It's useful if you want to contact him later. You turn on the form with the switch in the header of the card, then choose what is asked and you can add an introductory message. If the form is turned off, the visitor immediately enters the conversation.
Embed code: how to put a bot on a site
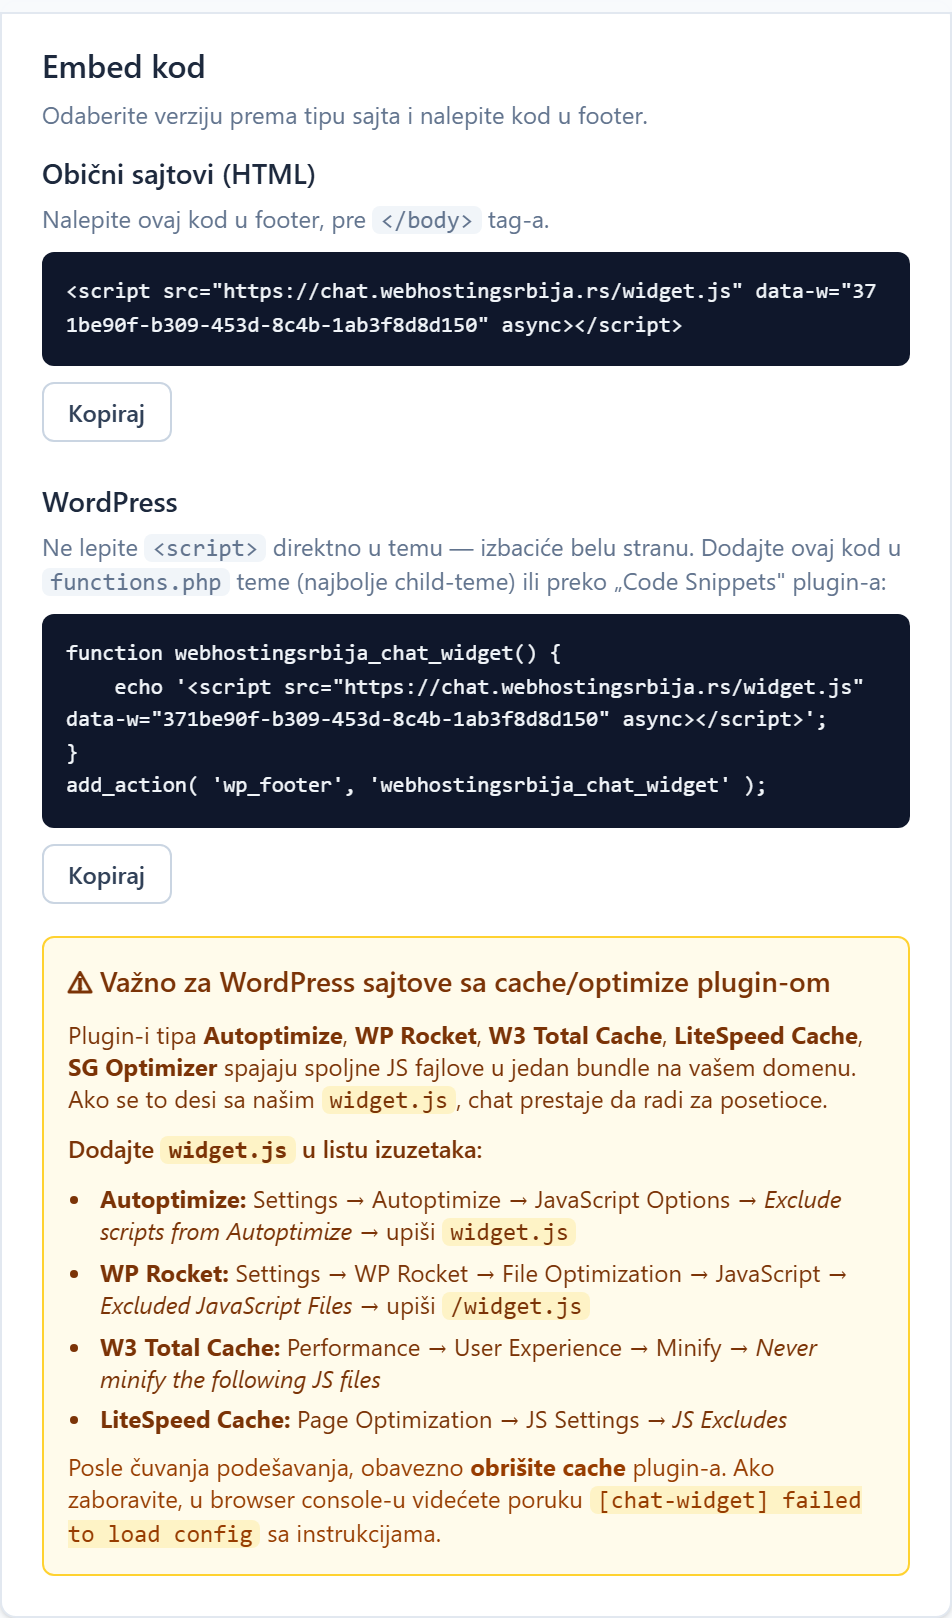
This is the step that actually puts the bot on your site. You get two versions of the code:
- Regular websites (HTML): paste the given line immediately before the closing body tag at the footer of the site.
- WordPress: do not paste the script directly into the theme as this may throw off the white page. Instead, you add prepared code to functions.php themes, preferably child themes, or via the Code Snippets plugin.
The Copy button commits the code to memory in one click. If you use a cache or optimization plugin on your WordPress site, such as Autoptimize, WP Rocket, W3 Total Cache, LiteSpeed Cache, or SG Optimizer, be sure to add widget.js to the exceptions list. Those plugins combine external scripts into a single file and can break chat functionality. The exact instructions for each add-on are right below the code, in the yellow box. After the change, be sure to clear the cache of the plugin.
Test page
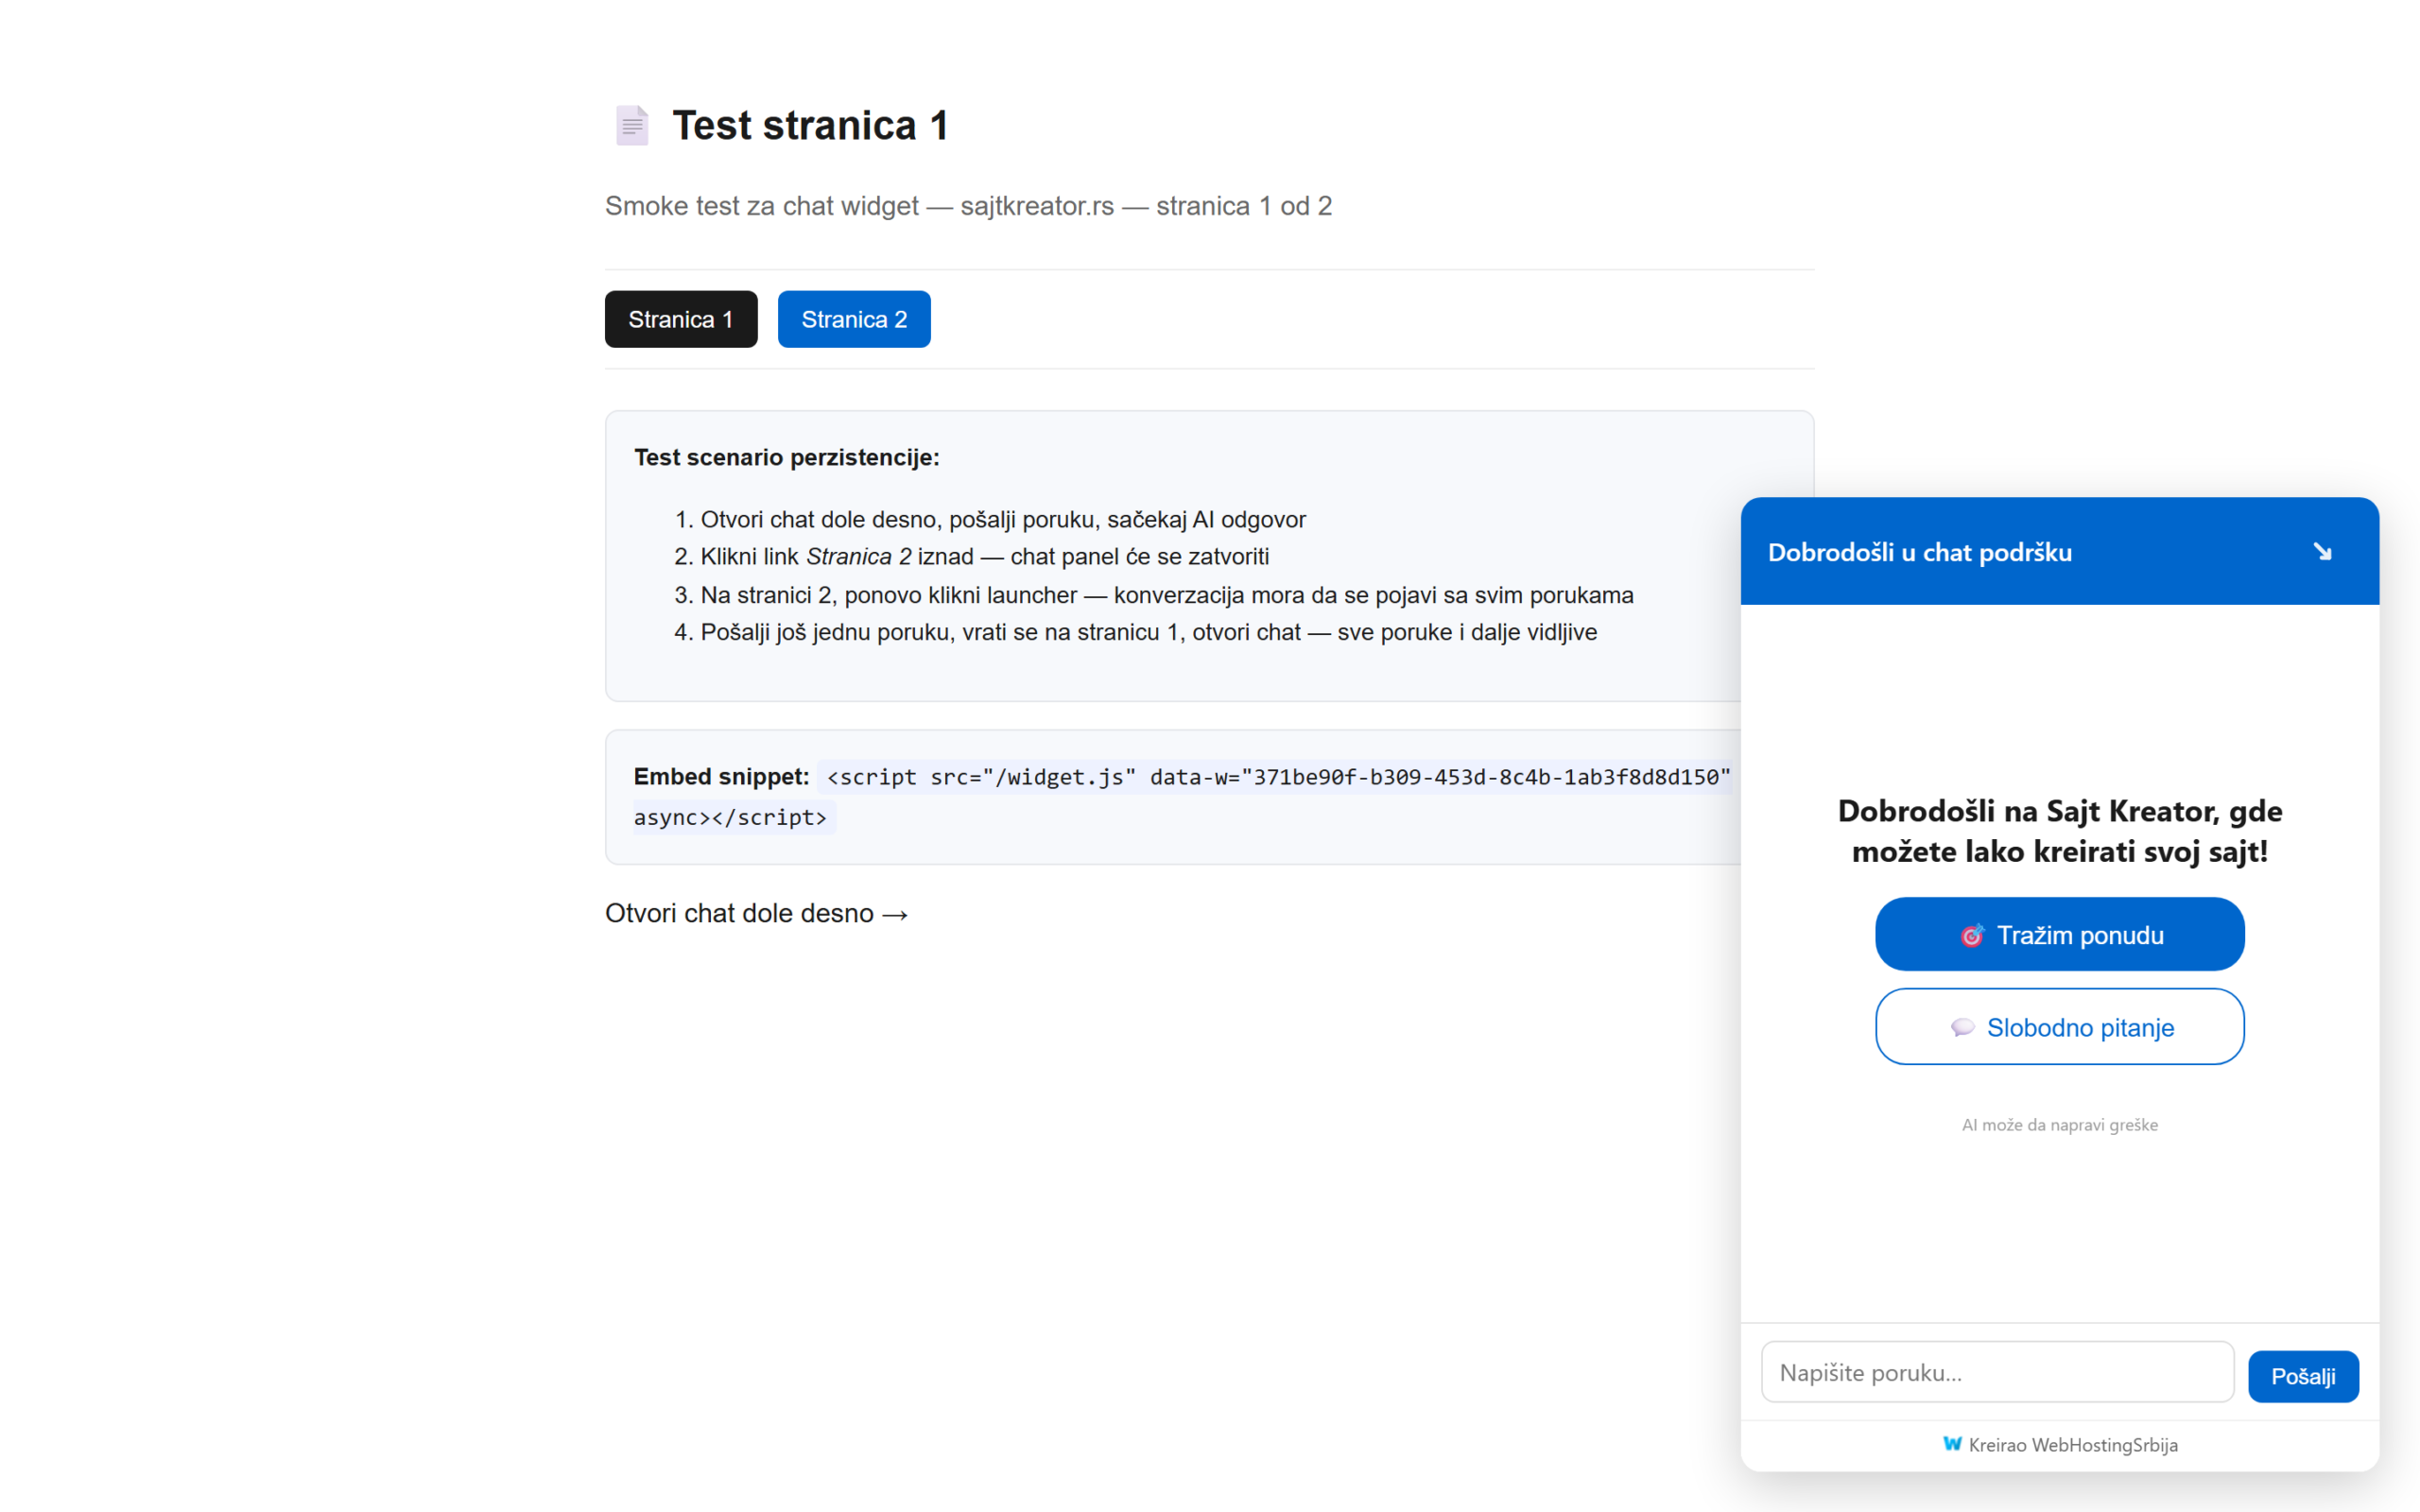
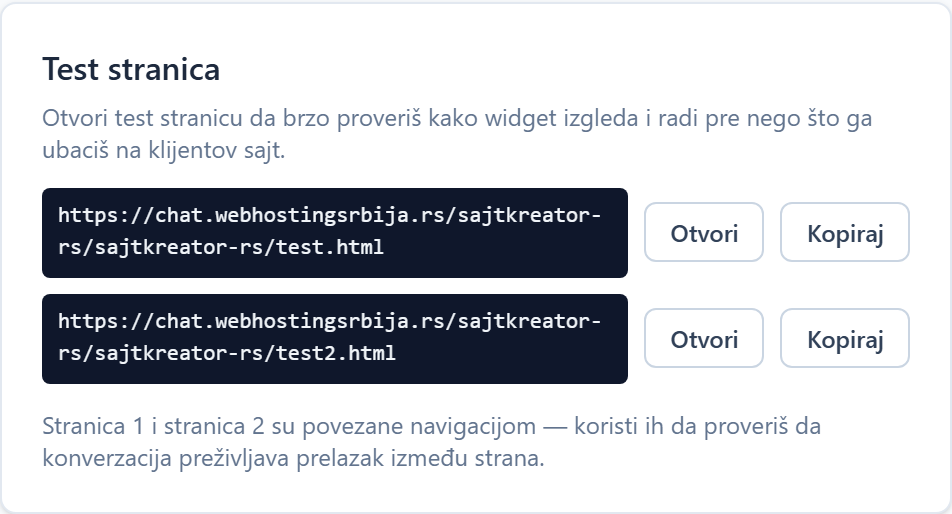
Before you put the bot on the real site, you can try it on a ready-made test page. You get two links, page 1 and page 2, which are connected by navigation. Open them to check how the bot looks and see that the conversation remains saved when the visitor switches from one page to the other.
Allowed domains
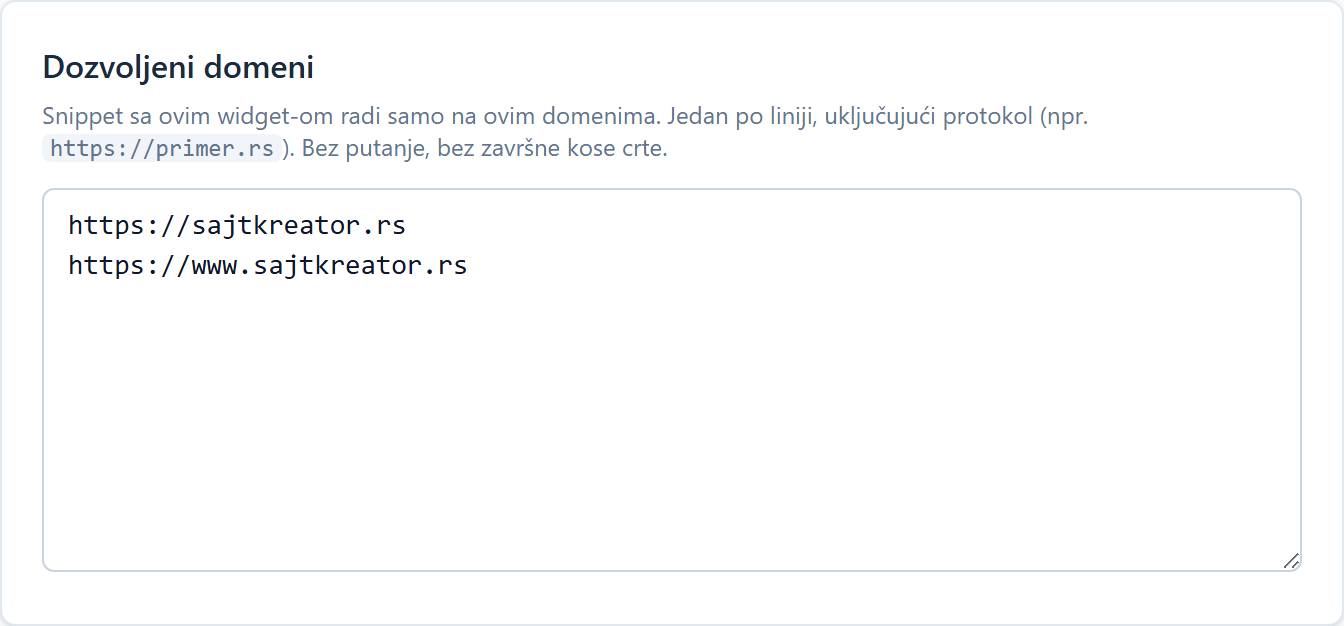
In the Advanced tab, under Domains, there is a list of addresses on which the widget is allowed to work. The bot is displayed only on these domains, which is a protection against someone inserting your bot on someone else's site. You type one domain per line, along with https, no path, and no trailing slash. The domains you entered when creating the site are already here.
What does it look like live?
When the code is placed, a visitor on your site sees a round button in the corner. Clicking on it opens a window with a welcome message and, if you have selected a business type, buttons to quickly start a conversation. This is how the bot looks live on the site's test page.